Printing Cards
MTG Rack makes it easy to produce professional-looking printed lists of your collection, binders, filtered card sets, and deck lists. Whether you need an insurance record of your entire collection, a trade list to hand out at your LGS, or a quick reference sheet for your Commander deck, the built-in print system gives you full control over layout, content, and formatting.
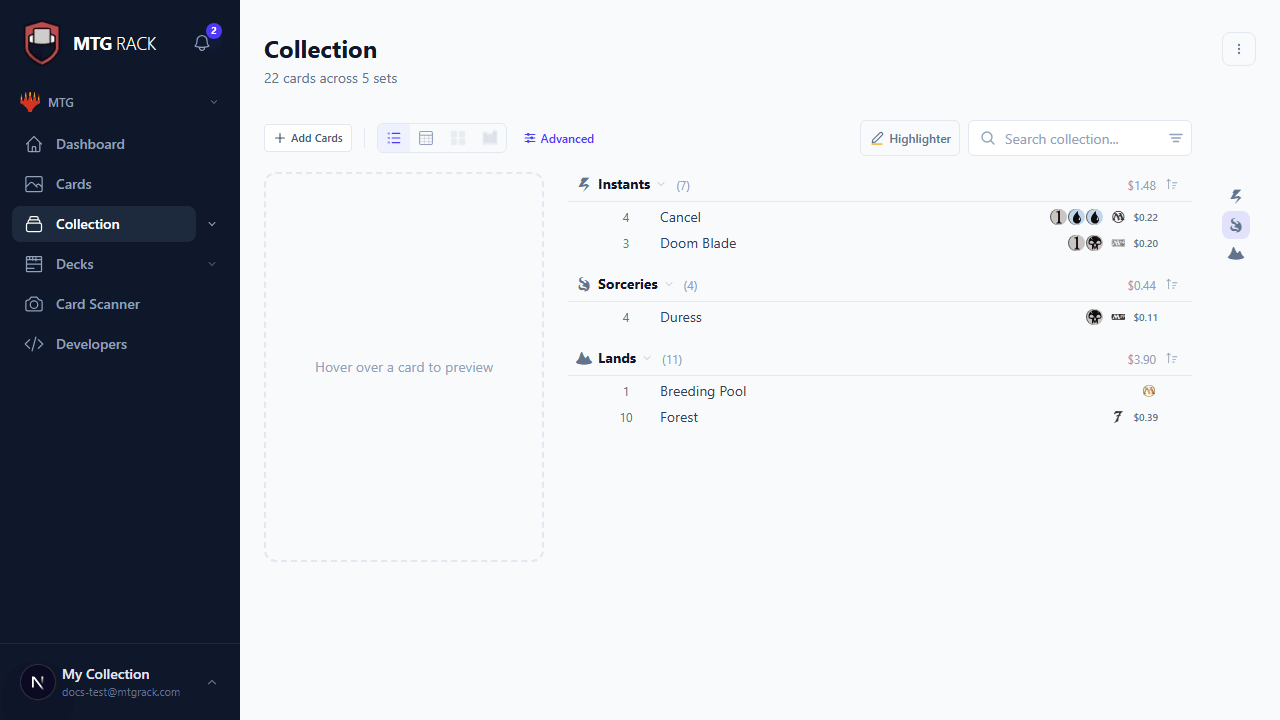
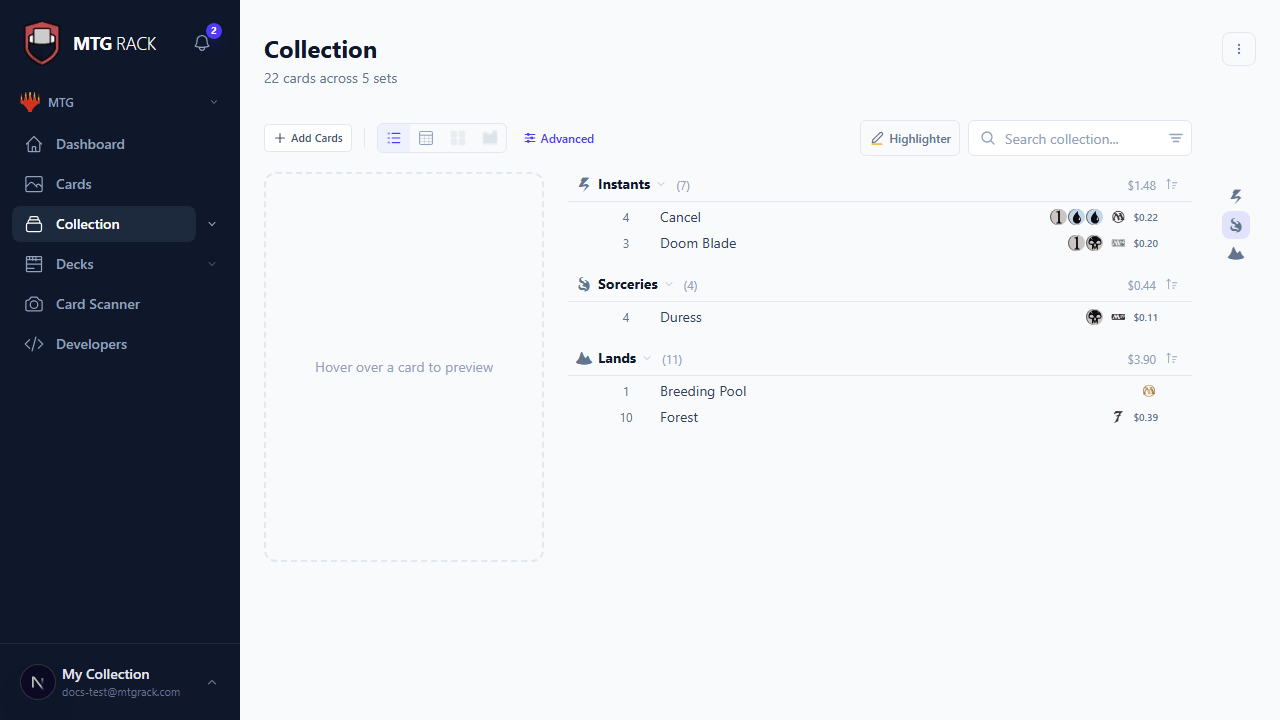
Printing from the Collection Page
To print your collection, navigate to the Collection page, apply any filters or sorting you want reflected in the printout, then click the Print button in the toolbar. This opens the print dialog where you can configure your layout and content preferences before sending the job to your printer or saving as a PDF.
The print system respects whatever filters and sorting you currently have applied. If you are viewing only red creatures sorted by price descending, your printout will contain exactly that subset in that order. This makes it easy to produce targeted lists — print just your mythic rares, just cards worth over $10, or just cards from a specific set.
Print Layout Options
MTG Rack offers several print layouts optimized for different use cases. Select the layout that best matches what you need from the print dialog:
Customizable Print Settings
Regardless of which layout you choose, you can customize exactly what data appears on the printout. Toggle columns on or off in the print dialog to include or exclude any of the following fields:
- Card name — always included by default.
- Set name and code — the expansion the card belongs to.
- Collector number — the card's number within the set.
- Quantity — how many copies you own.
- Foil status — whether the entry is regular, foil, or etched foil.
- Condition — NM, LP, MP, HP, or DMG.
- Market price — the current TCGplayer market price.
- Acquisition price — what you paid for the card.
- Mana cost — the card's mana cost, rendered as mana symbols.
- Type line — the full type line (e.g., "Legendary Creature — Human Wizard").
- Color identity — the card's color identity, useful for Commander sorting.
- Rarity — common, uncommon, rare, or mythic rare.
- Date added — when the card was added to your collection.
- Binder — which binder the card belongs to, if any.
Your column selections are saved as a preset so you do not have to reconfigure them every time you print. You can create multiple presets for different use cases — for example, an "Insurance" preset that includes name, set, condition, quantity, and market price, and a "Trade List" preset that includes name, set, condition, and foil status.
Printing a Binder or Filtered Set
You are not limited to printing your entire collection. To print the contents of a specific binder, open the binder from the Binders section and click Print in the toolbar. The printout will contain only the cards in that binder, using whatever sorting is currently applied.
For more targeted printouts, use the collection filters to narrow down the displayed cards before opening the print dialog. Common examples include:
- Filter by rarity to print only your rares and mythics for insurance purposes — these represent the bulk of your collection's value.
- Filter by price range (e.g., $5+) to print a high-value card inventory.
- Filter by set to print a set completion checklist.
- Filter by color identity to print cards available for a specific Commander build.
Print Reflects Filters
Printing Deck Lists
You can also print from the Deck Editor. Open any deck and click the Print button in the editor toolbar. Deck printouts include a few additional options:
- Categorized list — prints the deck organized by card type sections (Creatures, Instants, Sorceries, Artifacts, Enchantments, Planeswalkers, Lands), mirroring the editor layout. Each section includes a card count. The sideboard and maybeboard are printed as separate sections below the mainboard.
- Flat list — prints all mainboard cards in a single alphabetical list in the standard "4 Lightning Bolt" format. Compact and easy to read at a glance.
- Visual spoiler — prints card images in a grid layout, giving you a visual overview of the entire deck. Useful as a reference sheet during games or for showing your deck to friends.
- Include stats — optionally include the mana curve chart, color distribution, type breakdown, and average mana value on the first page of the printout.
- Include sideboard — toggle whether the sideboard appears in the printout.
For Commander decks, the commander is always listed first with a clear heading, followed by the 99 organized by type. Partner and companion cards are listed alongside the commander.
Print Preview
Before sending anything to your printer, click Preview in the print dialog to see exactly how your printout will look. The preview renders a paginated view that matches the final output, including page breaks, headers, footers, and column widths. Use the preview to catch issues like a column being too wide and pushing content off the page, or text being truncated on long card names.
From the preview, you can adjust page orientation (portrait or landscape), paper size (Letter, A4, Legal), and margins (normal, narrow, or none). These settings are applied in real time so you can see the effect immediately. When you are satisfied with the layout, click Print to send the job to your browser's native print dialog, or Save as PDF to download a PDF file directly.
Print-Optimized Views
MTG Rack applies a dedicated print stylesheet to every printout. This means the printed output is not simply a screenshot of your screen — it is reformatted specifically for paper. The print stylesheet makes the following adjustments:
- Removes the sidebar, toolbar, navigation, and all interactive elements that are not relevant on paper.
- Switches to a white background with black text for maximum readability and ink efficiency.
- Adjusts font sizes and column widths to fit the selected paper size.
- Adds a header to each page with the collection or deck name, date printed, and page number.
- Adds a footer with a card count summary and total market value (if price columns are included).
- Prevents cards from being split across page breaks — each row stays intact on a single page.
- Renders mana symbols as clean black-and-white icons that print clearly on non-color printers.
Tips for Best Print Quality
Follow these recommendations to get the best results from your printed output:
- Use landscape orientation for tables — if your printout includes many columns (name, set, quantity, condition, price, foil status), landscape gives each column enough room to display without truncation.
- Use portrait for compact lists — if you are printing a simple name-and-quantity list or a deck list, portrait fits more rows per page.
- Reduce columns for narrow paper — on Letter or A4 paper, more than six or seven columns can become cramped. Disable columns you do not need to give the remaining ones more space.
- Save as PDF for sharing — rather than printing to paper and scanning it, use the Save as PDF option to generate a clean digital file you can email, upload to your insurance provider, or share with trade partners.
- Use the Visual Grid layout for card images — if you want card images in your printout, the Visual Grid layout renders them at optimal resolution. For best image quality, use a color printer and select "Best" or "High Quality" in your printer settings.
- Check the preview first — always use Print Preview before sending to your printer. Paper and ink are not free, and a two-second preview check saves wasted pages.
Save as PDF for Insurance
Common Use Cases
Here are some practical scenarios where printing is especially useful: